
Overview
The most basic and important command in Linux and Ubuntu terminal environments is ls, which displays files and directories. In this post, we will explore in detail how to use the ls -al option to check file permissions, owners, and even hidden files starting with a dot (.) at a glance, along with practical examples.
1. Basic Usage of ls and Checking Detailed File Information (ls, ls -l)
Run the command mkdir -p ~/ls_demo && cd ~/ls_demo to create and move into a dedicated workspace for practicing the ls command.

Run the command touch file1.txt file2.txt to create empty files as sample files needed for practice.

The ls command outputs a list of files and directories in the current directory.
⚙️ [Key Options]
-a : Displays all items, including hidden files and directories starting with a dot (.).-l : Displays detailed information such as file permissions, owner, file size, etc.-h : Displays file sizes in human-readable units (KB, MB, GB).-t : Sorts and displays items in order of modification time, starting with the most recently modified files.-S : Sorts and displays the list in order of file size, starting with the largest files.
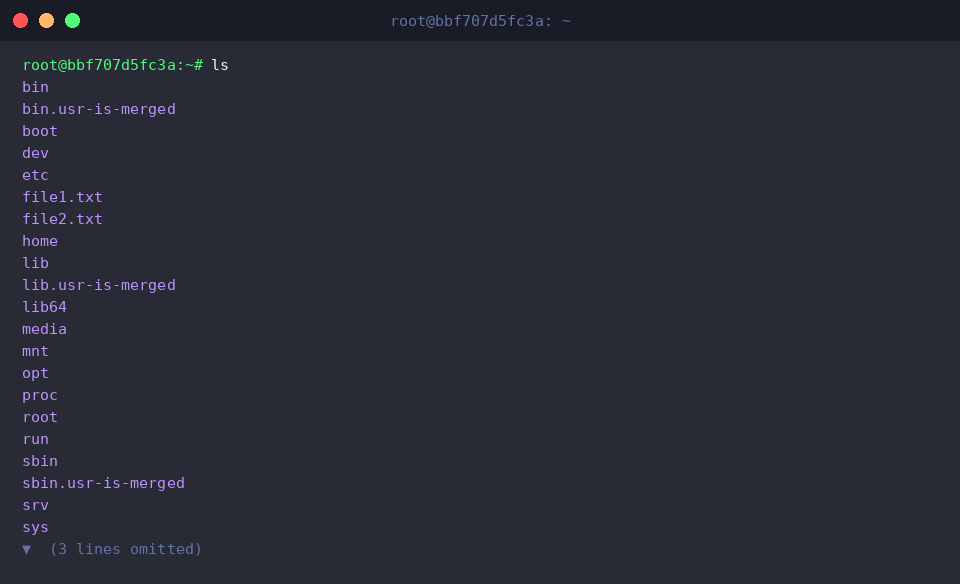
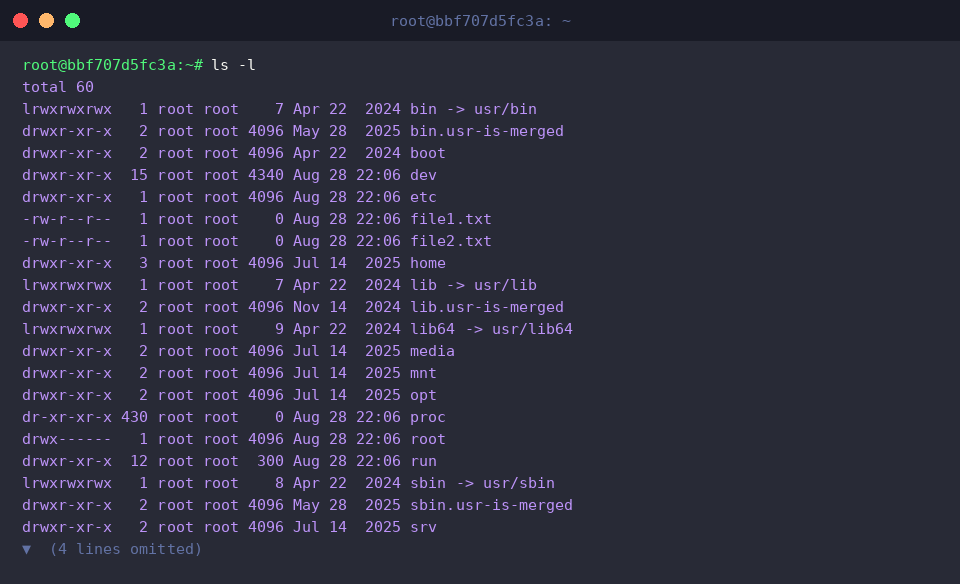
The ls -l command outputs detailed information for each item, such as file permissions, owner, size, and modification time, in list format.
2. Viewing All Items Including Hidden Files and Hidden Directories (ls -a, ls -al)
To proceed with practicing hidden files, run the command touch ~/ls_demo/.hidden_file to create an empty .hidden_file file with a dot (.) in front of the filename.

To proceed with practicing hidden directories, run the command mkdir -p ~/ls_demo/.config_dir to create a .config_dir directory with a dot (.) in front of the directory name.

The ls -a ~/ls_demo command outputs all items including hidden files and hidden directories starting with a dot (.).
As a result of execution, you can confirm that the previously created .config_dir directory and .hidden_file file are displayed in the list along with the current directory (.) and parent directory (..).

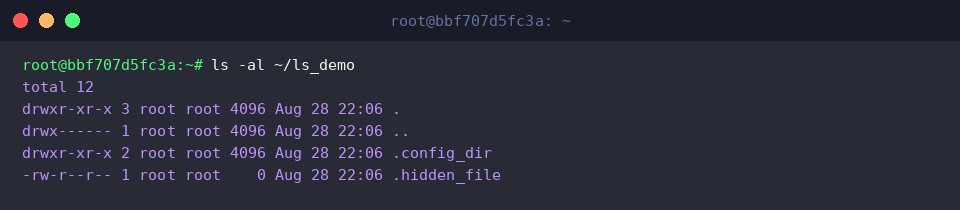
The ls -al ~/ls_demo command outputs detailed information for all files and directories, including hidden items, in list format.
As a result of execution, you can confirm that access permissions, owner, file size, modification time, etc. for each file and directory, including hidden items, are displayed in detail.
3. Displaying Human-Readable File Sizes and Sorting Files (ls -lh, ls -lt, ls -lS)
To prepare the sample file required for size display and sorting practice, run the command head -c 5M /dev/urandom > ~/ls_demo/bigfile.bin to create a 5MB bigfile.bin file.

The ls -lh ~/ls_demo command outputs a detailed information list by converting file sizes into human-readable units (KB, MB, etc.) instead of byte units.
As a result of execution, you can confirm that the size of the bigfile.bin file is intuitively displayed as 5.0M instead of byte units.

The ls -lt ~/ls_demo command outputs detailed information by sorting the list of files and directories in order of the most recently modified time.
As a result of execution, you can confirm that recently created or modified items are listed at the top with priority.

The ls -lS ~/ls_demo command outputs detailed information by sorting the list starting from the largest file size.
As a result of execution, you can confirm that files are listed in order starting from the largest file in the directory.

4. Visualizing Hierarchical Directory Structure (Using the tree Command)
To practice visualizing subdirectory structures, run the command mkdir -p ~/ls_demo/subdir1/nested to create a directory with a hierarchical structure.

Run the command touch ~/ls_demo/subdir1/nested/file3.txt to add a sample file inside the created nested directory.

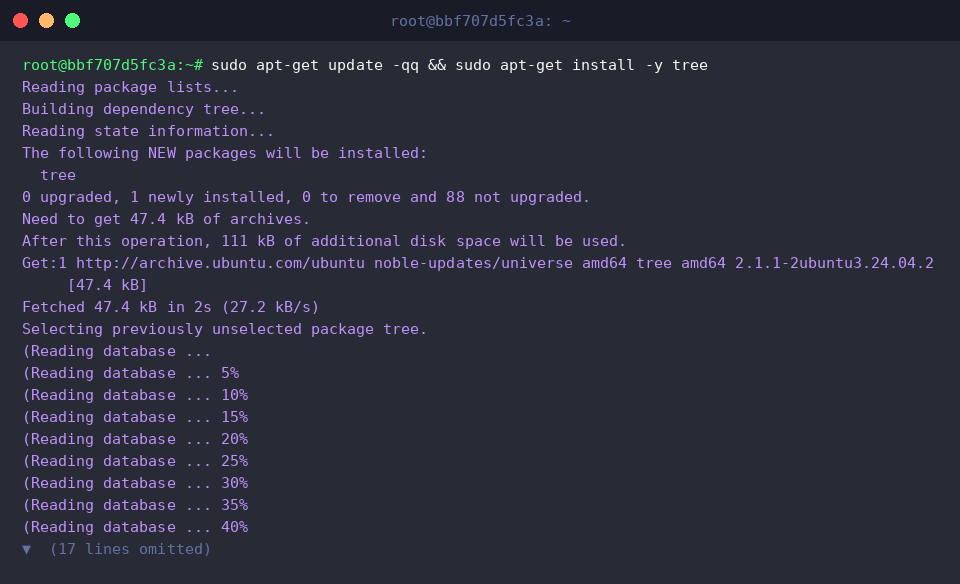
Run the command sudo apt-get update -qq && sudo apt-get install -y tree to install the related package for practicing visualization with the tree command.
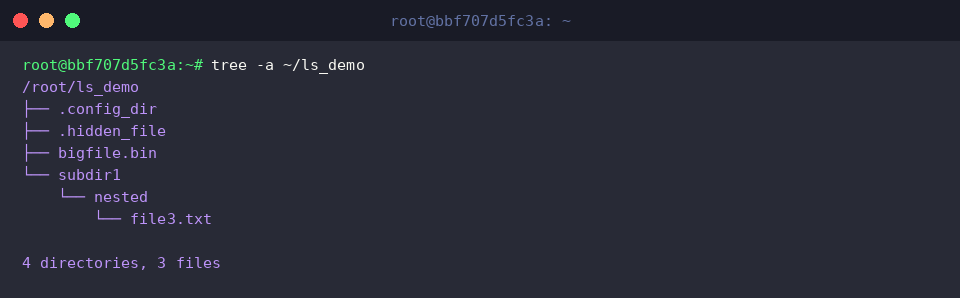
The tree -a ~/ls_demo command visualizes and outputs the entire hierarchical structure of the specified directory in tree form, including hidden files and hidden directories.
As a result of execution, you can confirm that the containment relationships between directories and files—ranging from hidden items such as .config_dir and .hidden_file down to subdir1/nested/file3.txt—are intuitively output at a glance.
So far, we have looked into checking hidden files and the Linux file permission structure using the essential Ubuntu command ls -al.
Based on what you learned today, build a safer and more efficient Linux environment.